
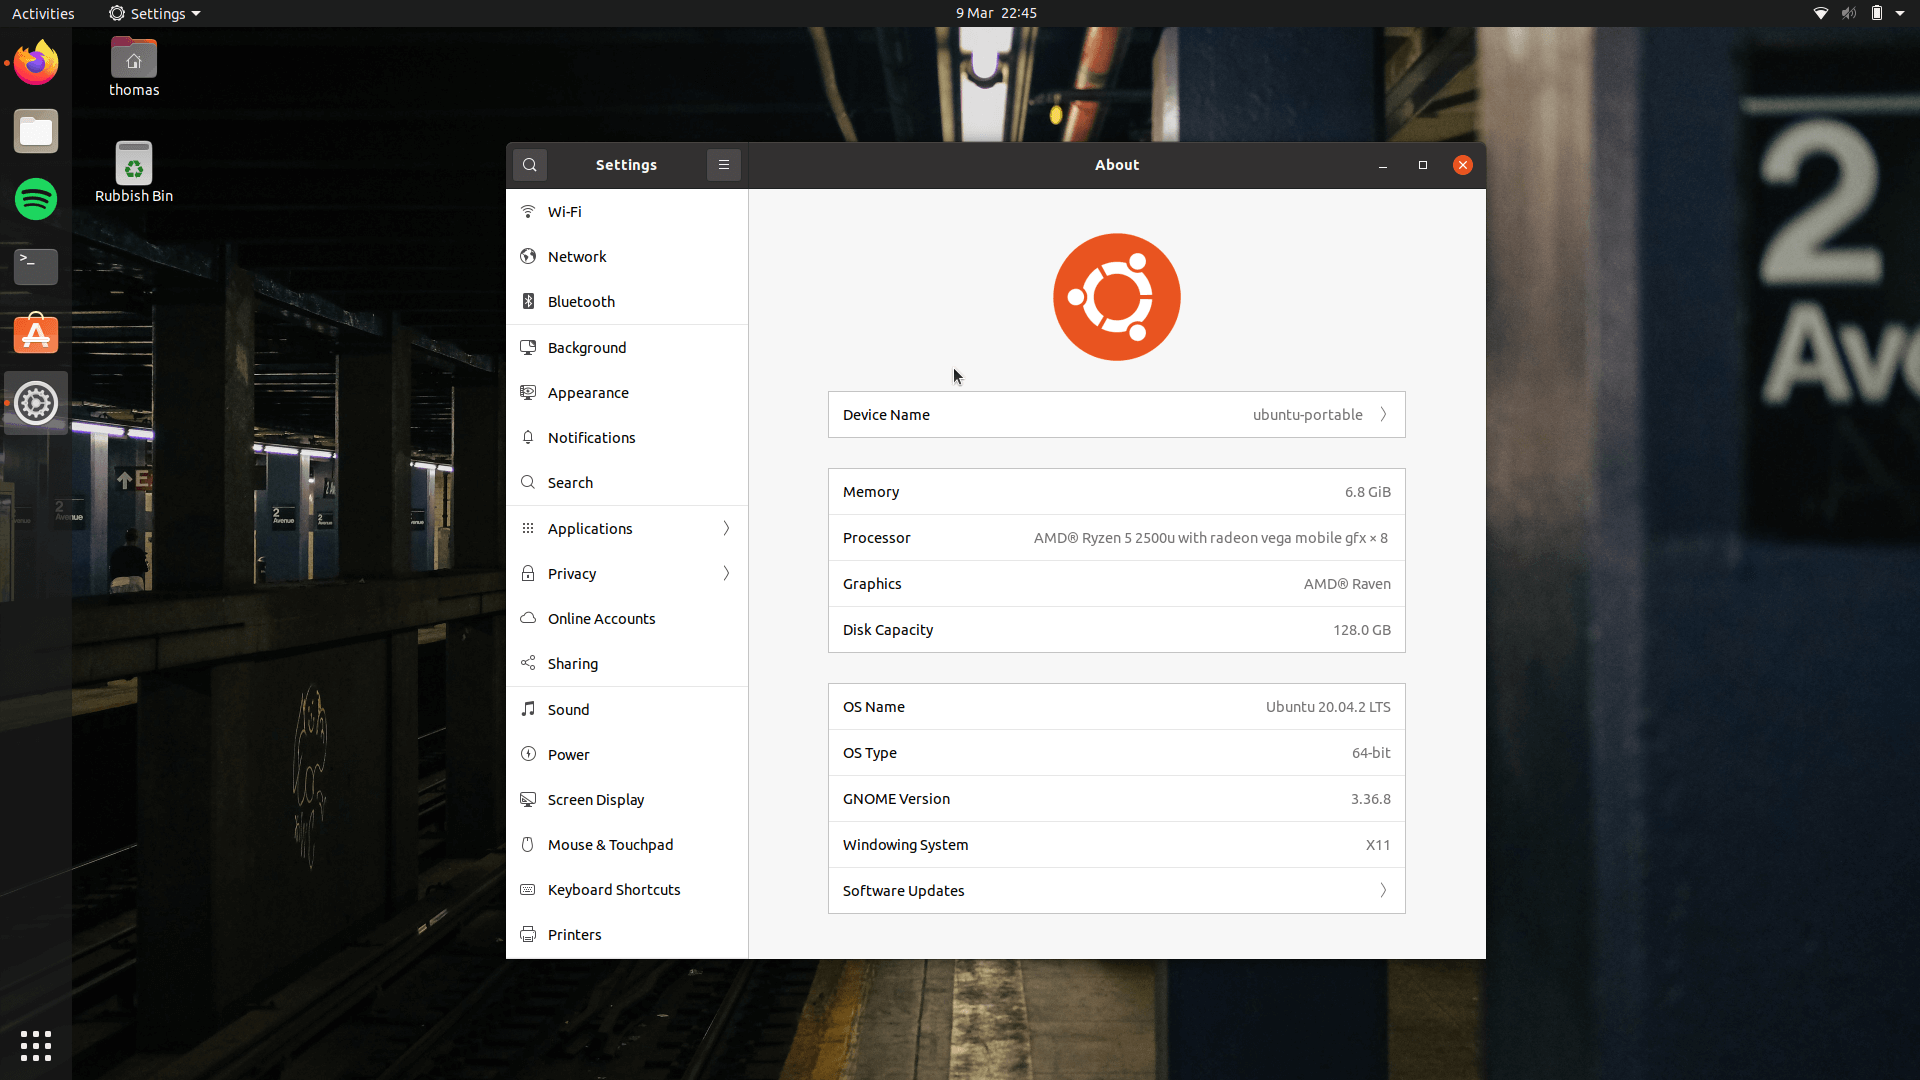
ubuntu portable setup and hardening 🐧
While I’ve recently mentioned how I’ve been doing some work from a mid-2010 Unibody MacBook, I also like to use my more modern HP Envy 13. The problem is, as mentioned before, that it’s become a Sims 4 box that I don’t always have access to. Also, disk space on a machine with such a small HD and a big thicc Windows 10 install can be quite tight.
Anyway, below I chronicle the process of installing an OS onto a USB stick, and then hardening it.
“Hardening” is the process of better securing your operating system/hardware.
table of contents
setup
Here is an Amazon UK link to the USB stick I went with.
This stick seemed to have the most recommendations when I searched for “Best USB stick to run an OS from”.
I went with Ubuntu 20.04 LTS because of its great hardware support, easy hardening options, and also due to the fact I’ve used Ubuntu/Xubuntu on-and-off for 15 years.
installing ubuntu
I lost my (now secondary) USB stick. It’s somewhere in the house but I think there’s a distinct possibility it’s inside my daughters intestinal tract. Or she’s just hidden it from me. Anyway, I used VirtualBox to install Ubuntu onto the USB stick.
Use Disk Manager in Windows 10 or gparted or your disk manager of choice to remove all partitions and data from the USB stick.
Uninstall WireShark if you have it. Install VirtualBox and the Additions extension pack to enable USB 3 support. Restart the host machine.
This bit took me absolutely ages and I nearly resorted to buying an extra USB stick. Persevere with the steps above and use any errors VBox gives you to find people with the same issue.
Create a virtual machine with at least 2 GB RAM with no hard disk. Enable networking. Enable USB 3 support and create a filter for your USB stick. Unplug the USB stick and boot the machine from the Ubuntu 20.04 live USB ISO. Once loaded, plug the USB stick back in.
From here, you should be able to install Ubuntu using the defaults. I selected Minimal Installation, unchecked the proprietary software option, and selected the option to encrypt my disk.
As I had chosen to encrypt the disk, I created a user account with a different strong passphrase and allowed auto login. I have enabled live patch which meant I have setup another strong passphrase, and the account password uses another strong passphrase. I have also set the machine to auto lock after 5 minutes and always require a password on wake.
hardening ubuntu
There’s not actually loads required when looking to harden Ubuntu. The OS is mature and Canonical offer good transparency on CVE reporting.
enable livepatch
Ubuntu 20.04 prompts on first launch to enable livepatch. The elevator pitch is fairly simple: allow automatic critical kernel patching without the need for a restart.
check for updates
Even if you enabled network updates during install, this is just good practice. Either use the auto updates if prompted, or head to terminal:
$ sudo apt update & sudo apt upgraderemove avahi
The Avahi Daemon implements Apple’s Rendevous/Bonjour. 👾CVE-2011-1002 demonstrates the relative ease for bad actors to find vulnerabilities in the protocol, though it references Avahi <0.6.29. Ubuntu 20.04 LTS ships with avahi-daemon_0.7-3.1, however, I don’t plan on using any hook-ups between this device and any Apple products so it may as well be purged.
$ sudo apt purge avahi-daemonmake like madagascar

Any idiot with a laptop and a follow-along “hacker guide” from Mr Robot could try setting up a reverse shell or find an open port to get up to no good. Hell, there’s in production industry standard software I am aware of which will crash if a certain port is sniffed. Uncomplicated Firewall (UFW) provides an iptables front-end and an easy way to manage firewall rules and work on an exception-only basis.
deny all inbound and outbound connections
First, enable UFW:
$ sudo ufw enable

Firewall is active and enabled on system startup
Deny incoming connections:
$ sudo ufw default deny incomingNow forward connections:
$ sudo ufw default deny forwardingAnd finally, outgoing connections (all internet access will be blocked from this point):
$ sudo ufw default deny outgoingfind your ufwinterface
To allow outgoing connections, you will need to reference your network adapter’s name. This is easy enough:
$ ip a
2: wlo1: <BROADCAST,MULTICAST,UP,LOWER_UP> mtu 1500 qdisc noqueue state UP group default qlen 1000
link/ether aa:bb:cc:dd:ee:ff brd ff:ff:ff:ff:ff:ff
altname wlp2s0
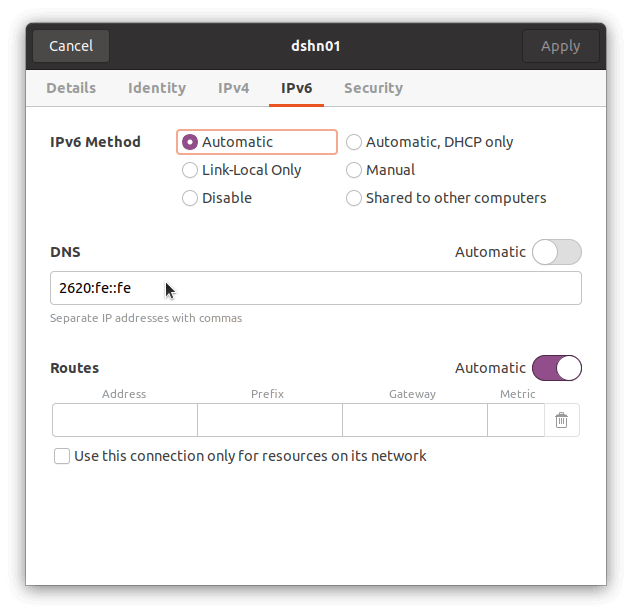
inet 192.168.1.14/24 brd 192.168.1.255 scope global dynamic noprefixroute wlo1create firewall exceptions and allow force external dns
Allow DNS, HTTP, and HTTPS traffic out over your chosen interface:
$ sudo ufw allow out on wlo1 to 9.9.9.9 proto udp port 53 comment 'allow DNS on wlo1 ipv4'
$ sudo ufw allow out on wlo1 to 2620:fe::fe proto udp port 53 comment 'allow DNS on wlo1 ipv6'
$ sudo ufw allow out on wlo1 to any proto tcp port 80 comment 'allow HTTP on wlo1'
$ sudo ufw allow out on wlo1 to any proto tcp port 443 comment 'allow HTTPS on wlo1'
After setting these rules, make sure you add the external DNS settings to your network interface device:
If these rules are blocking too much, allow all outgoing packets again:
$ sudo ufw default allow outgoingdmonitor firewall logs
To debug incoming or outgoing connections, use tail with the -f arg:
$ tail -f /var/log/ufw.logYou can use this to identify the IP, protocol, and port of any blocked connections and allow them where needed. Where IPs are fixed (with Quad9, for example) you can allow outbound connections to specific IPs and ports. Where IPs float, however, you may want to consider opening the port to all; keep in mind this approach increases your surface area to attackers.
next steps and todo
This is where I leave you. You should now have a decently working, hardened, Ubuntu 20.04 LTS persistant USB stick. You can treat it like a normal OS running on your machine. Below are some considerations and things you can do to check your understanding of what we’ve been through:
- look at improving USB performance, investigate noatime (stackoverflow has some good discussions on this)
- regularly check your firewall logs. What else is being blocked?
- install some apps, like Spotify or Atom
- consider browser security. Look into plugins for FireFox and make sure to set Duck Duck Go as your default browser
- pen test this machine from a Kali Linux box
- use a password manager (that one’s just in general, not just for this)
- look at running through a VPN (remember you’ll need to set firewall exceptions for that!)